Using IOMeter to determine hard drive performance
Using IOMeter will give you a great benchmark on any hard drives and network drives you have. I use this quite often as you can see the effects of new hardware, introducing Link-Aggregation, or troubleshooting drives to determine if they are losing performance.
Steps to Follow
- Download IOMeter from the Official Site and run setup
All Programs -> Iometer -> Iometer
Under ‘Topology’ tab, select the local machine
-Delete All workers but 1
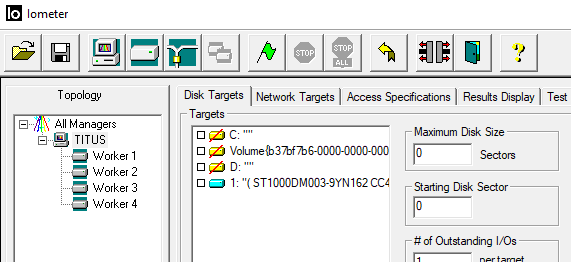
-Under ‘Disk Targets’ tab select the drive you want to run the IO test on:
-Set Maximum Disk Size to 204800 Sectors (one sector is 512 B, so 204800 sectors gives 100MB)
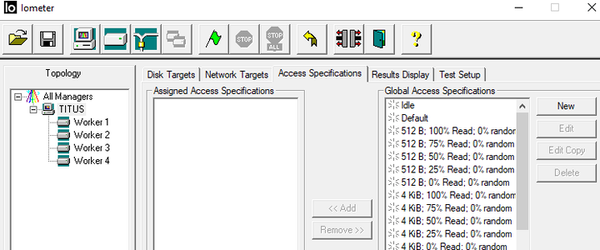
- Under ‘Access Specifications’ tab, under Global Access Specifications, select Default, and Click Add
_Note: Default test is – 67% read, 33% write, 2 KB, 100% Random non/sequential writes, Burst Length 1 I/O. This is fine for this brief guide and the sample results below use this. _

- Under ‘Results Display’ tab, under Update Frequency, set to 10 seconds
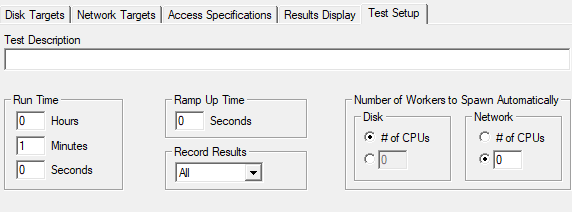
Under ‘Test Setup’ tab, set Run Time to 1 minute ( If bench-marking a SAN or Network drive I recommend doing it for 5 minutes for consistency. )
Clone Workers from the first page to the number of cores you have. (Ex. Quad Core = 4 workers)
The click the green flag to start the test, and choose a location to save the results….
Conclusion
Remember to benchmark often and always do a before and after you make any changes. This is imperative so you can see any performance gains or losses you might incur. There are many times I have been surprised by the results of switching hardware or simply testing older hardware to see how it is holding up. One thing is for certain, I haven’t found a freeware tool that is better than IOMeter in the past 15 years that I’ve been doing IT.